
1 in stock
€9,70
1 in stock
The axial clearance of the crankshaft must be adjusted between 0.07 and 0.13 mm, with a wear limit of 0.15 mm.
The clearance is measured using a dial gauge. Failure to accurately adjust the axial clearance can lead to significant, irreversible engine damage. The clearance is adjusted using adjustment rings located behind the flywheel, where the axial clearance is adjusted first before mounting the crankshaft seal.
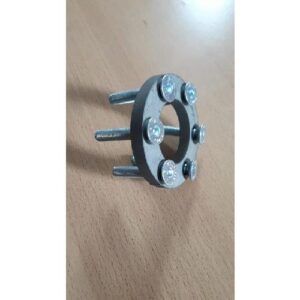
It is important to always install three rings. The adjustment rings are available in different thicknesses to allow for precise adjustment. Never use old worn rings, rings with burrs, or rings that are no longer flat, as this will prevent correct adjustment.
The inner diameter of these rings is 53.6 mm. Measure this for Type 1 and Type 3 engines before ordering to ensure that your engine actually dates from after the specified year of construction. For Type 4 or WBX engines, this measurement is not required as they have never been changed.
| Weight | 15 g |
|---|


Trike webshop is onderdeel van Walinga Trikes.
Ontwerp en realisatie door SOMOGY
Reviews
There are no reviews yet.